

I wasn't looking to get a new keyboard since I was satisficed with the affordable Royal Kludge 61 and Royal Kludge 84.
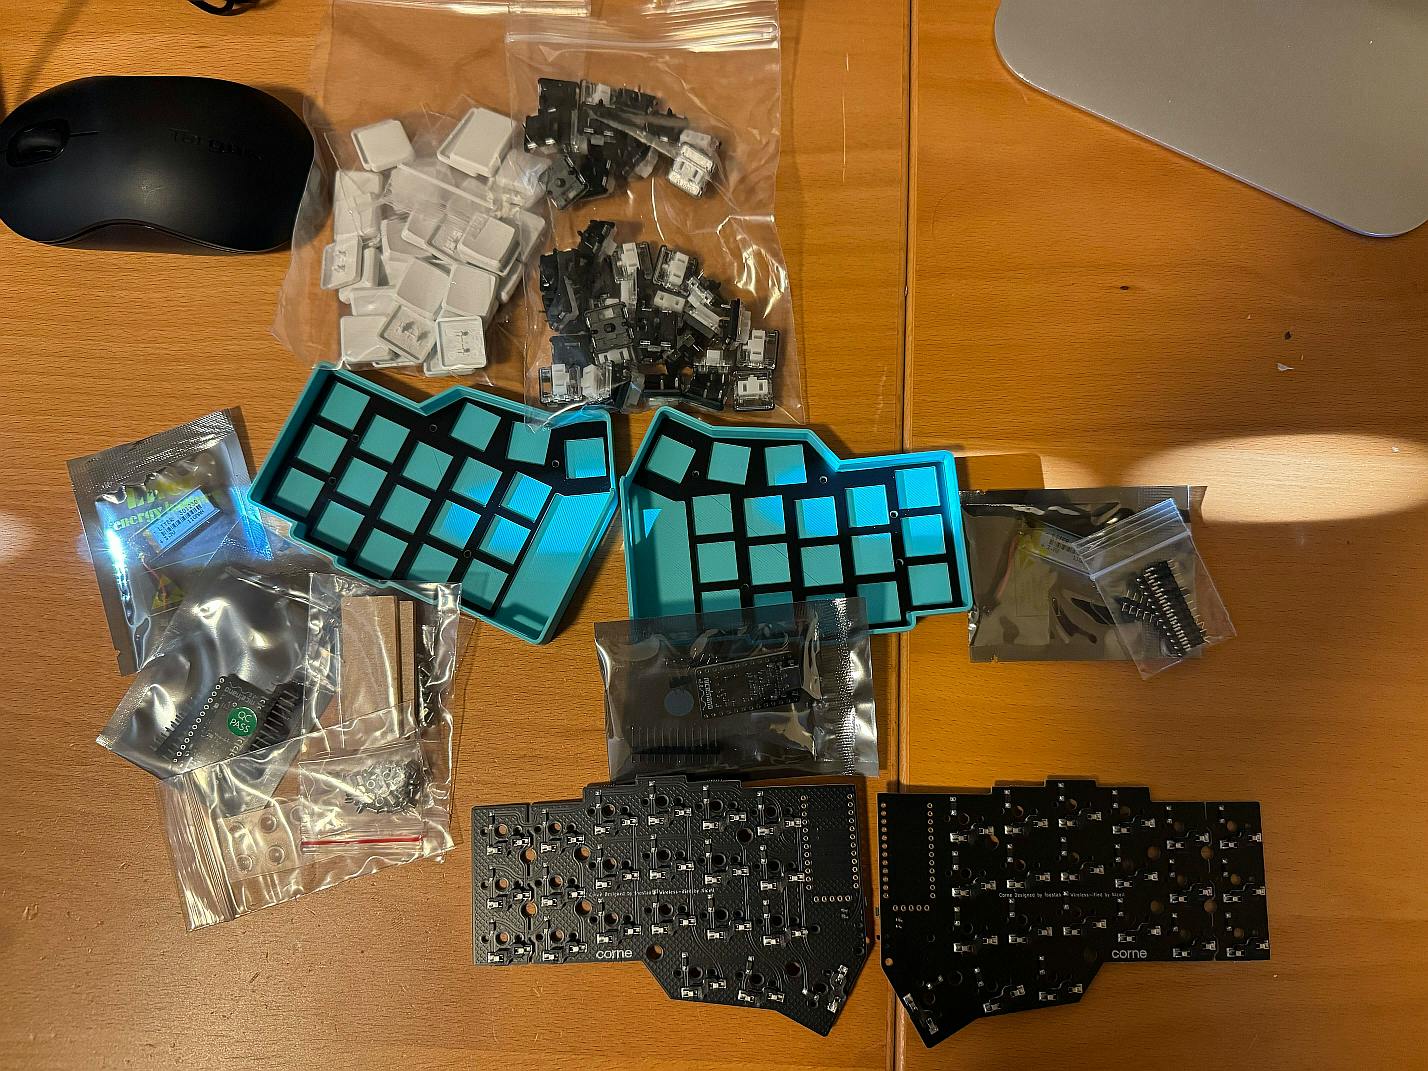
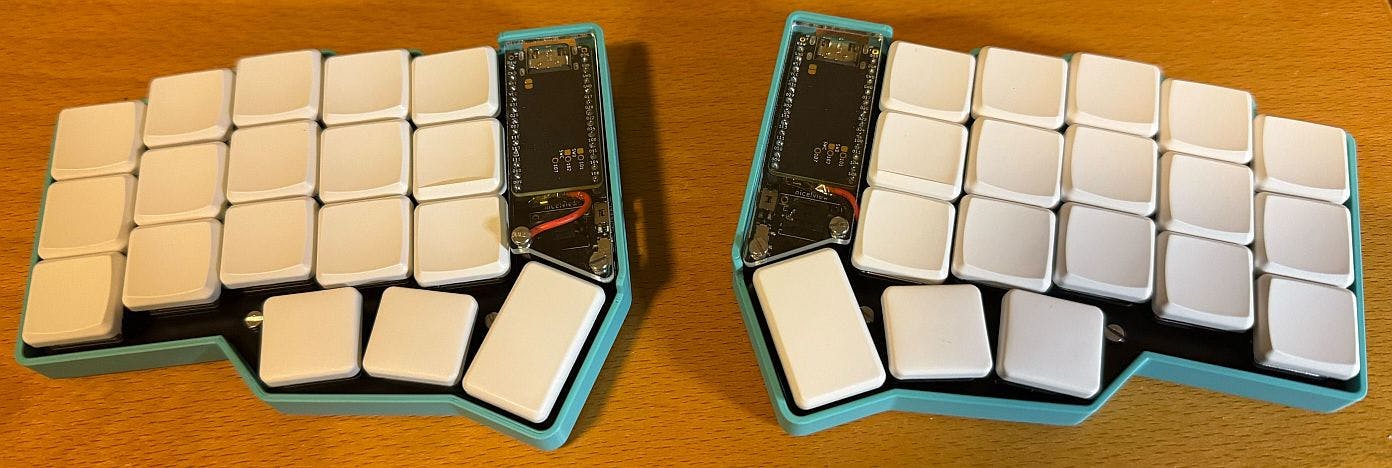
The ZSA Voyager was tempting me. After going down rabbit hole of custom keyboards as well as watching "34 keys is all you need" and Ben Vallack videos, I decided to order a wireless Corne34 kit with Choc Kalih blue (clicky) switches from typeractive.xyz. I opted for the low profile Choc switches and caps for portability.
Assembly
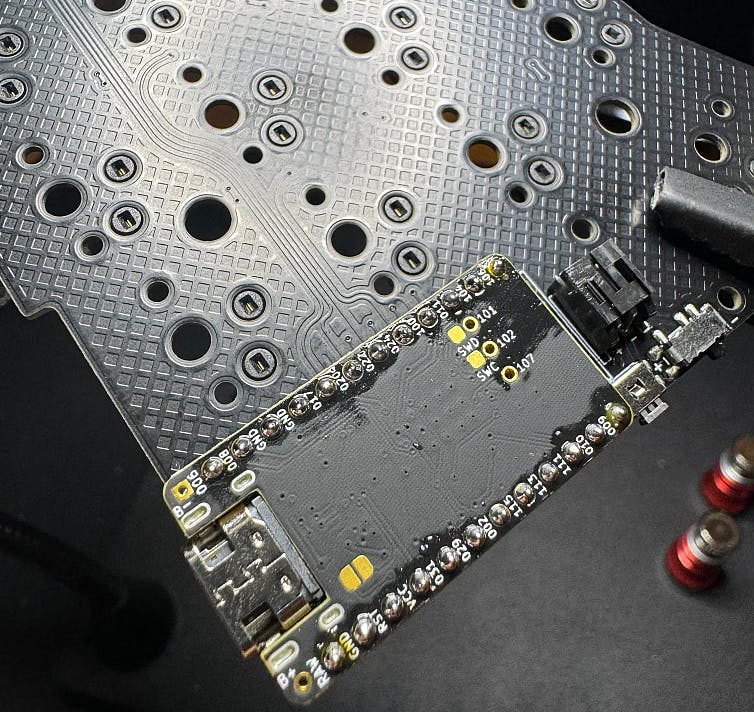
The kit can be ordered pre-soldered at some sites, but they charge a premium. The only soldering that needs to be done is from the PCB to the Micro-Controller (MCU). I chose the Nice!NanoV2. I followed this Joe Scotto video.
Some residual flux.
The switches are hot swappable so no soldering needed.
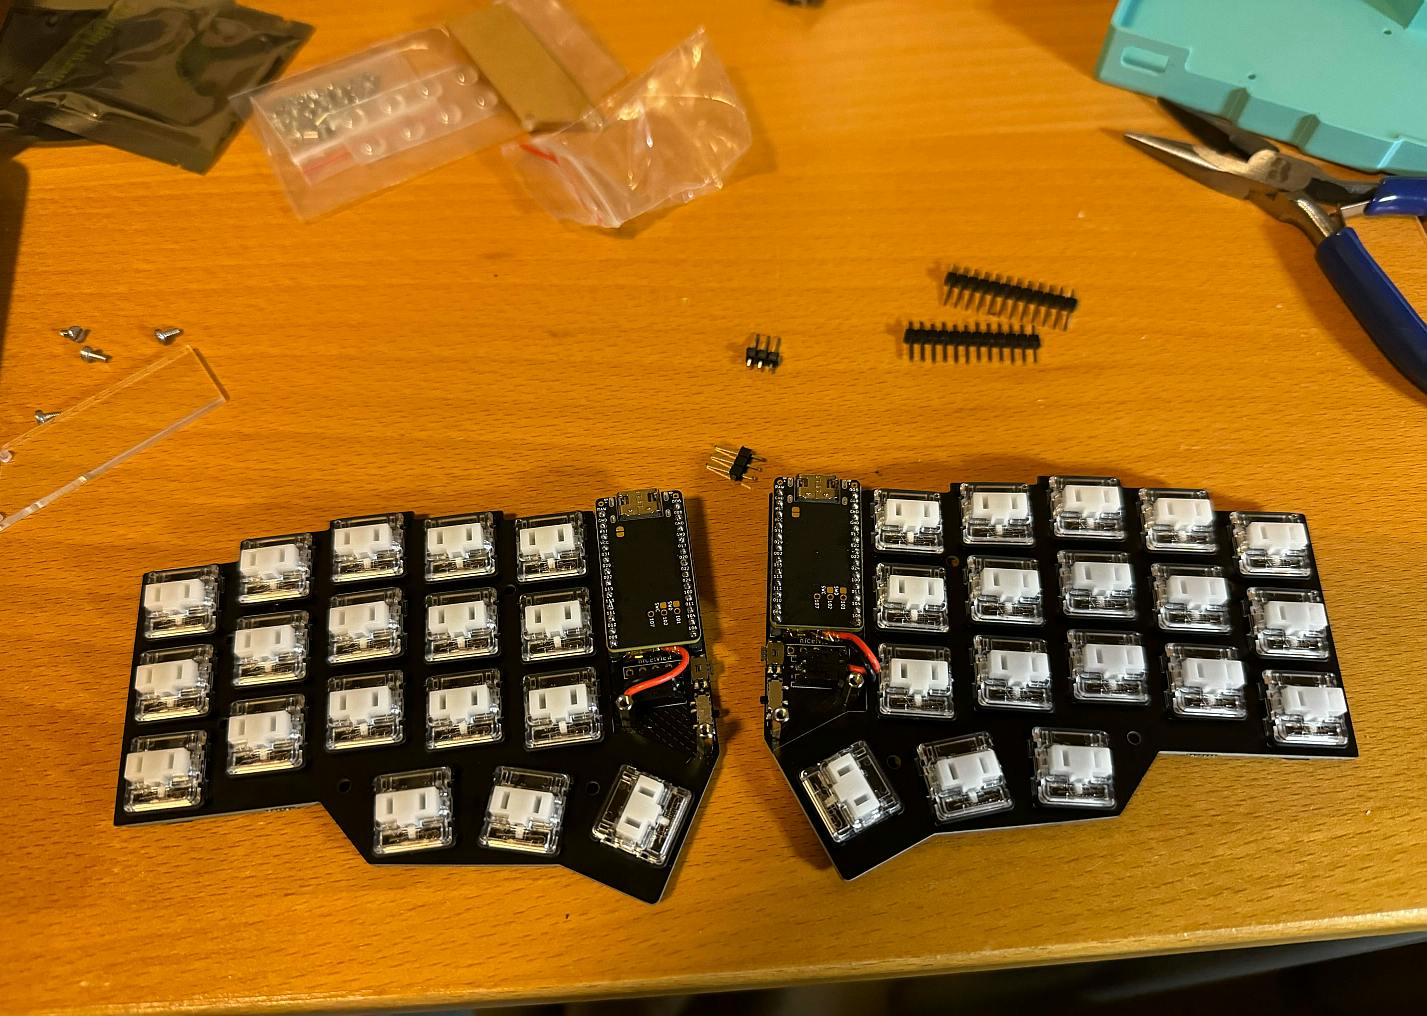
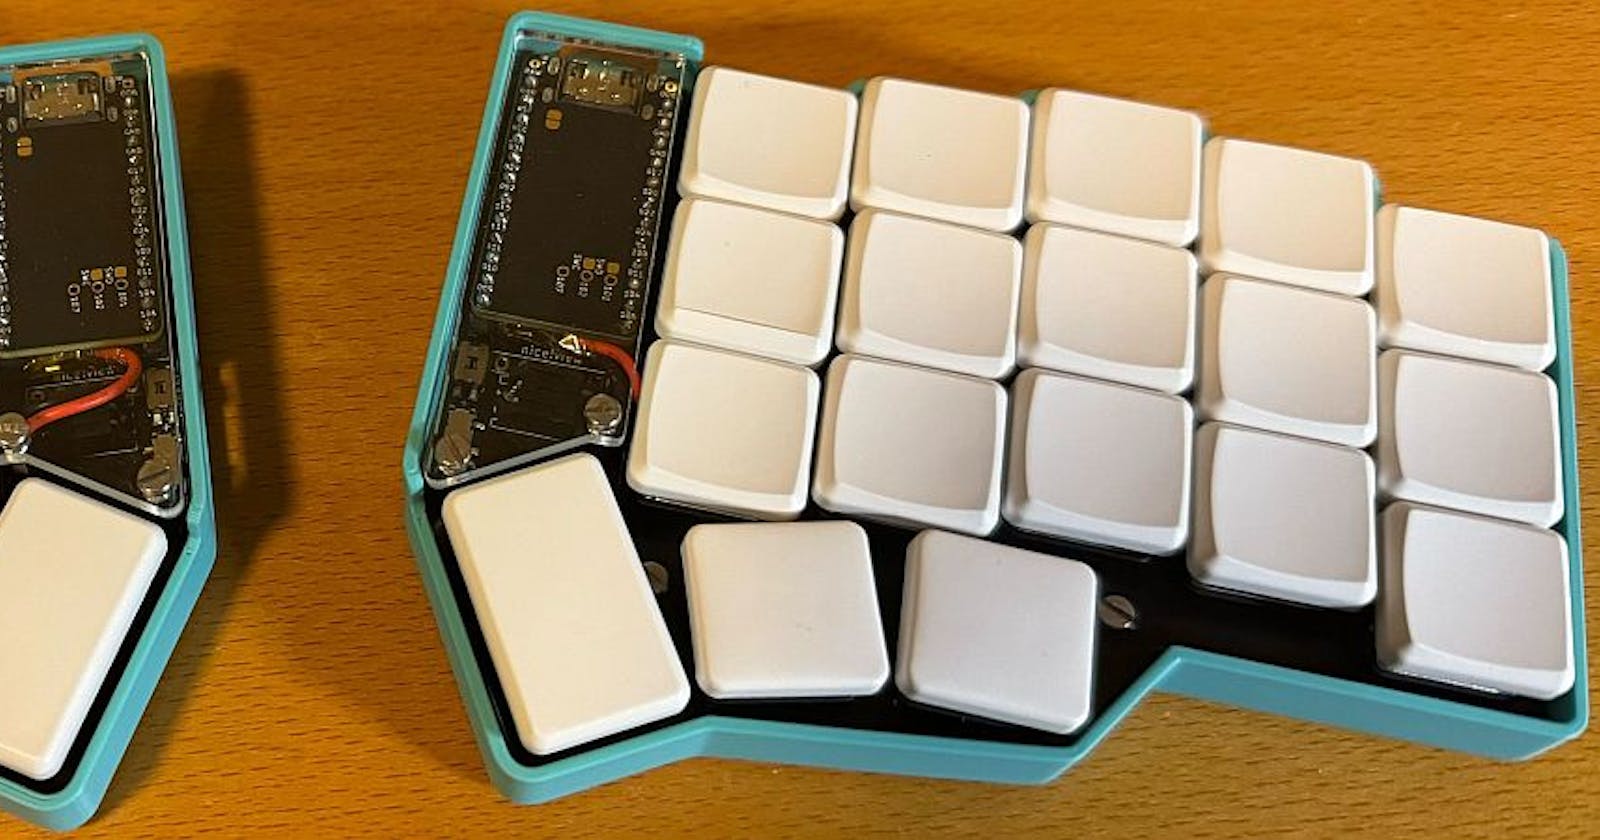
I would have added the Nice!View displays, but they were sold out. Will likely order a pair once they are back in stock.
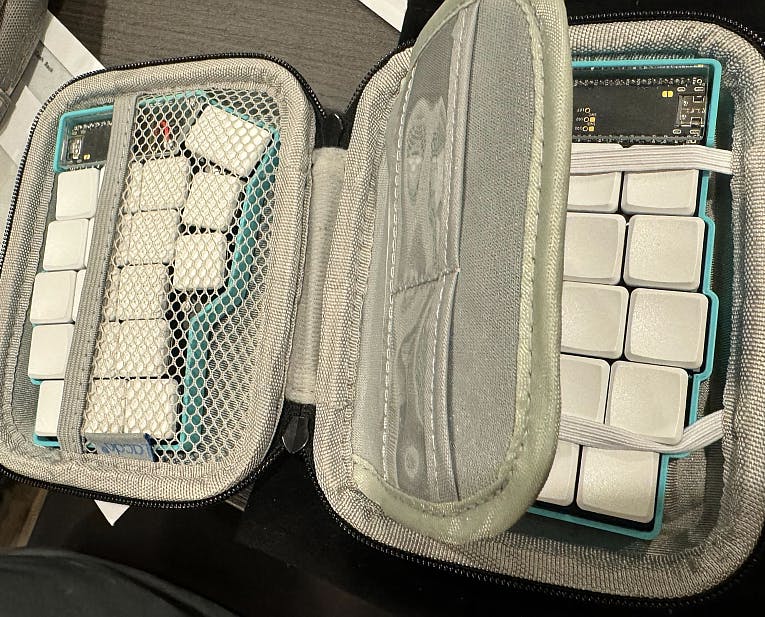
Fits well in a hard drive carrying case.
Firmware
The nice!nano V2 will need to be flashed with ZMK firmware for keymapping. The default mapping for the Corne34 will work. I customized to my liking using an online keymap-editor, but also wanted to try out the the Miryoku layout. Not sure how I feel about the home row mods...
My current preference is with MIRYOKU_LAYERS=FLIP and MIRYOKU_NAV=INVERTEDT. So the number layer matches a ten-key on the right and the navigation arrows are like WASD. Though I also like the default navigation being HJKL (VIM).
Flashing
To flash the firmware, the microcontrollers should have the reset button (RST + GND) quickly pressed twice. You can tell when the MCUs are flashable with quickly blink blue light. They should also be detected as drives/devices in the OS and not a keyboard.
I am sticking with QWERTY for now since Colmak/Colmak-DH is too much of a jump with the layers.
Pairing
To pair the halves with each other via Bluetooth Low Energy and the OS, you will have to flip the power switches up (keyboard facing you) then hold the reset button down and release. The keyboard should then be observable by the OS. The BLE latency is not noticeable for coding and typing. Note that you can just plug in the left half USB and it will communicate with the right half wirelessly. I found this to be the most reliable.

Learnings
Putting together a custom keyboard is not difficult.
The melting point will vary between lead-free solder (340-370C) and lead-based solder (315-345C). It varies based off composition. Soldering with 250-300C is recommended to prevent damage to the MCU.
Pay careful attention to the direction of the MCU before soldering.
It is easier to learn layers if you're customizing them yourself.
Learn a new layout slowly.
Use monkeytype to get better at the new layout.
Customizing Miryoku is not as easy as the ZMK configuration. Looking more into this.
Would be nice to have a real time view of the layers, this is what the Oryx Keyboard Configurator might provide. I would be able to see this if I had displays installed also, but it would be a nice option to have software show what layer you are in and the mappings. Might be a useful side project.
You can download PCBs of other custom keyboards and have an vendor print out the PCB for you. I've done this with a simple PCB for a ATmega32 shim to ESP8266 for a custom BAD USB.
I am tempted to build an MX Cherry switch version, but am forcing myself to get proficient with a mapping first.
Apparently, I am getting Rusty. Python is accurate.